Week 2
1-1
Assignments:
Read or view the following material and do the labs below. Come to next class with questions:
Read or view the following material and do the labs below. Come to next class with questions:
- Microcontrollers: The Basics
- Sensors: The Basics
- Programming Terms and Environments
- Introduction to the Nano 33 IoT
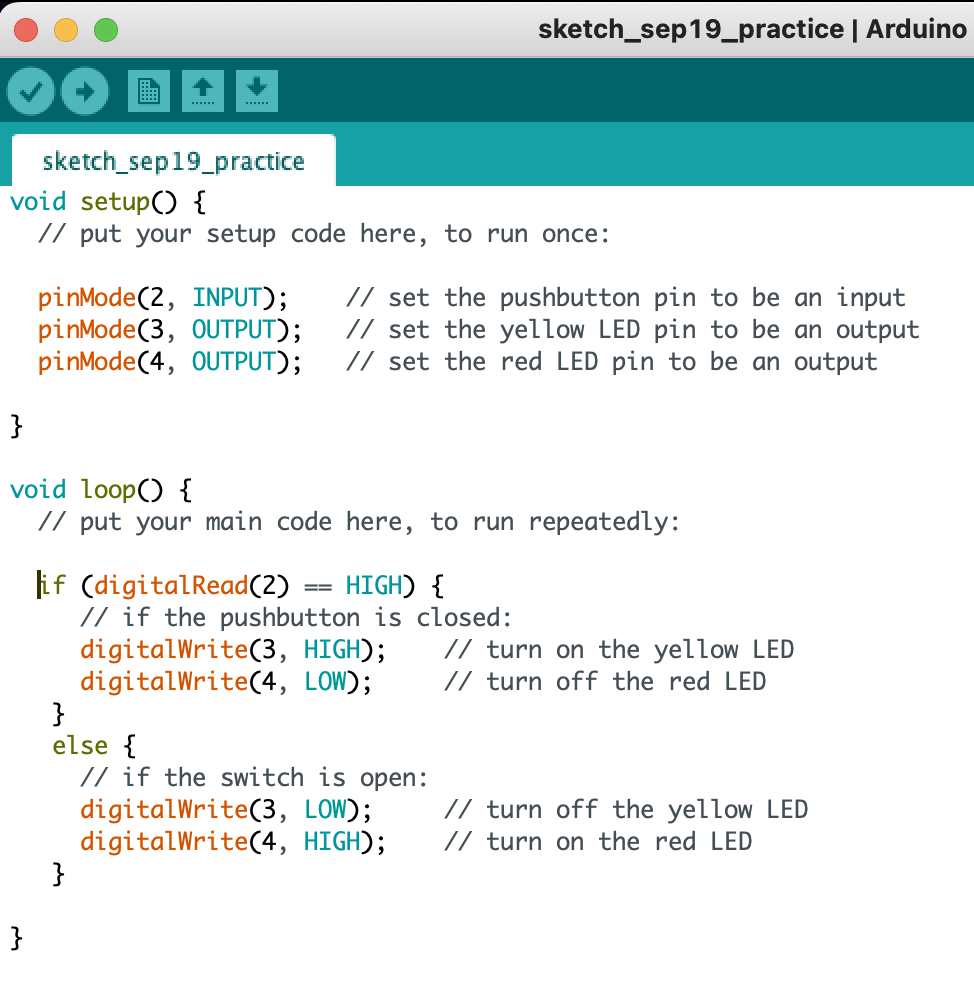
- Digital Input and Output
- Analog Input
- Serial out: print and println
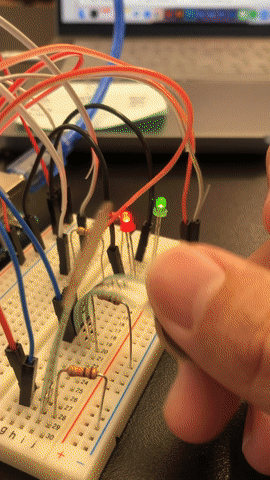
 This week's labs mainly focus on controlling the input and output to let these components can have reactions to our movement!
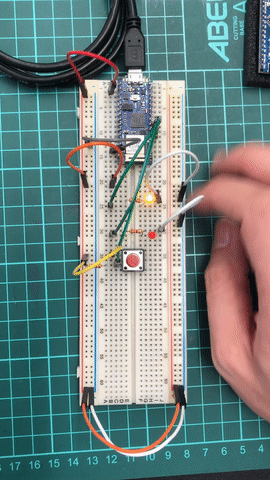

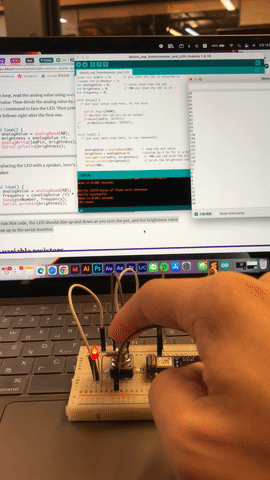
I also practice the force-sensing resistors, which I didn’t use it before!