Heart Rate Clock
Advisor: Jeff Feddersen/Mimi Yin
Designer: Yi-Chun, LanDate: 2022
Tools:
Arduino
p5.js
3D printing
Blender
Arduino
p5.js
3D printing
Blender
Design Approach

Code for p5.js
① Make a changable speed clock
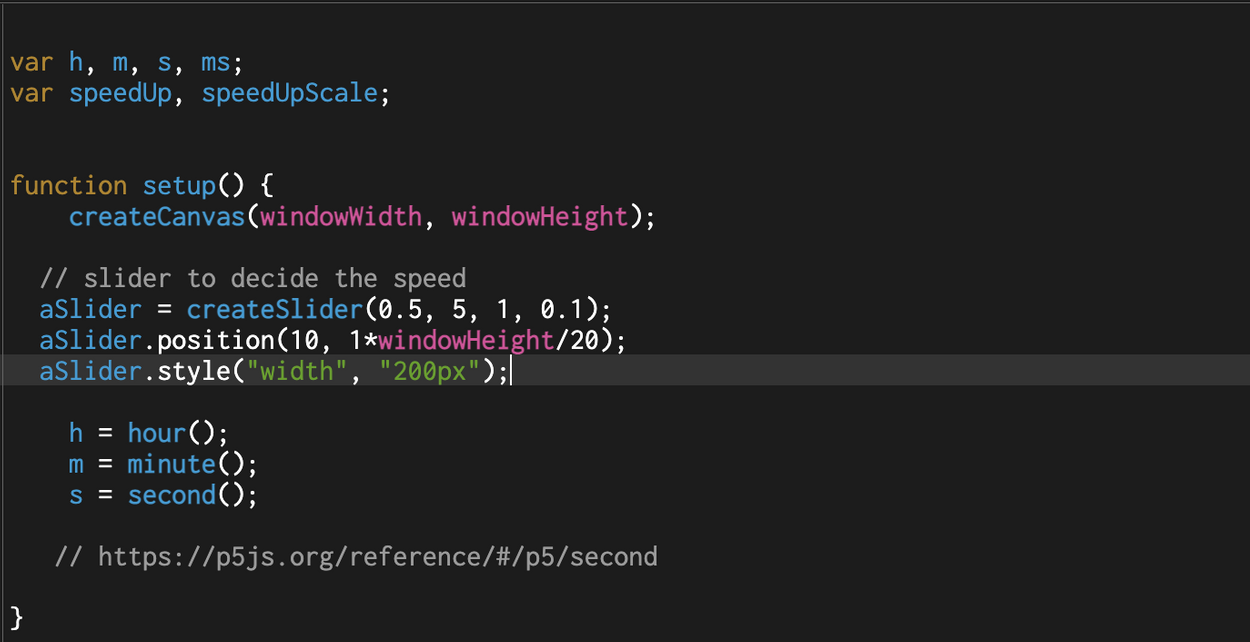
So what I do here is get the time from the computer clock in setup first, and you will notice the time stop. The reason is that the setup() only calls this function once, giving us time at the first moment we run this sketch! If I put the hour(), minute(), and second() in the draw(), the time will refresh itself, which means that we can’t control it!
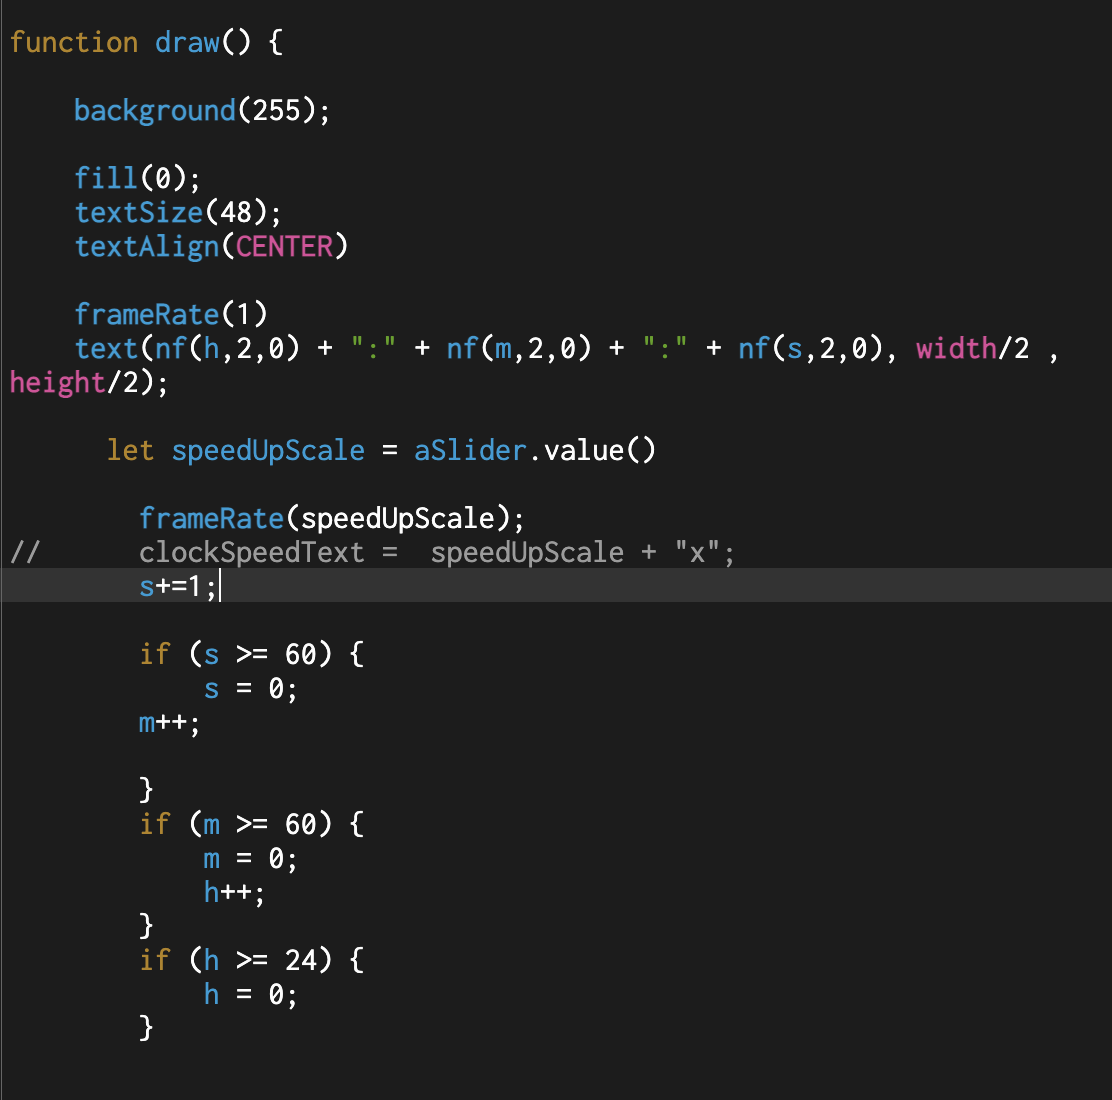
After that, we need to give it the power and the rule to let it move by itself. So the part starting from “s+=1” is the power(adding one to the second ), and the rule is if the second gets bigger than 59, the minute plus one, and makes the second get back to 0.
And also, because the frameRate = 60, if we didn’t assign any number. If we change the number to 1, it will only add one for every single second. At the same time, if we map the value to the frameRate, we can get a clock running at different speeds!
And also, because the frameRate = 60, if we didn’t assign any number. If we change the number to 1, it will only add one for every single second. At the same time, if we map the value to the frameRate, we can get a clock running at different speeds!
② Connect the Arduino to P5.
I create another tab and use ”checkPort();” in sketch.js
Code for Arduino
The first part is testing how to work with the pulse sensor. After I can received the data for the sensors, I add some texts as tag and transfer them from the serial port to p5.js.